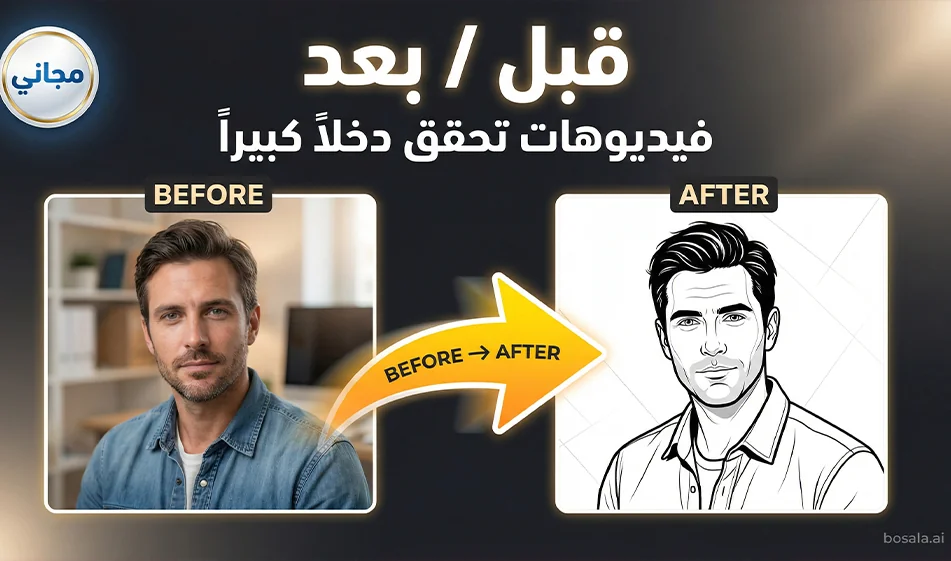
A "Before and After" Video Made from Just Two Photos
Did you know that before-and-after videos like these can become a source of income that matches or even exceeds a salary for some people?
Bousla Tip: You can create a trendy “before and after” video in minutes by combining two tools:
The first is for creating two static before-and-after images, and the second is for seamlessly animating the two images into a single video.
Links to the two sites:
Image site: https://gemini.google.com/app
Video site: https://uncensored.com/ai/video-generator
Step 1: Create a "before" and "after" image
Open Gemini and type two separate requests:
Before image prompt
- Ask for a simple, realistic snapshot with normal lighting, no exaggeration, and no text in the image.
After image prompt
- Exactly the same scene, but with an “enhanced result,” better lighting, and a cleaner composition—also without text in the image.
Compass Tip: The most important thing is consistency
- Same shooting angle
- Same distance
- Same location
so the viewer feels the transformation is real.
Ready-made template for a “before” image
Use this text and change whatever you want
A realistic "before" image: normal lighting, natural colors without exaggeration, clear details, consistent shooting angle, no text in the image, no logos.
Ready-made template for a "after" image
A realistic "after" style image, exactly the same scene and angle, but with soft studio lighting, more beautiful colors, a cleaner composition, high quality, no text inside the image, no logos.
Step 2: Combine the two photos into a single video
Go to any reliable “Two Photos to Video” tool, then
1 Upload the “Before” image as the start frame
2 Upload the “After” image as the end frame
3 Select the 9:16 aspect ratio
4 Select a duration of 6 to 8 seconds
5 Paste the following animation description, then generate the video
Ready-made motion description
Vertical 9:16 video,8 seconds long.
Start with the first image as the camera zooms in very slowly.
Smooth transition to the second image via a soft fade with a slight zoom.
Gradually reveal the difference over two seconds, then freeze the shot after one second at the end.
Smooth motion with no shaking, no flickering, no distortion, no text in the video, no music, no sound.
The secret to a successful trend
- Do not include text in the video during rendering. Add it later using a neat Arabic font.
- Keep the video short—6–8 seconds—so it loops automatically.
- Set the last second to “After” because that’s the moment of surprise.
- Create only 3 versions:
(light version),
(dark, luxurious version),and
(usage scene version).